
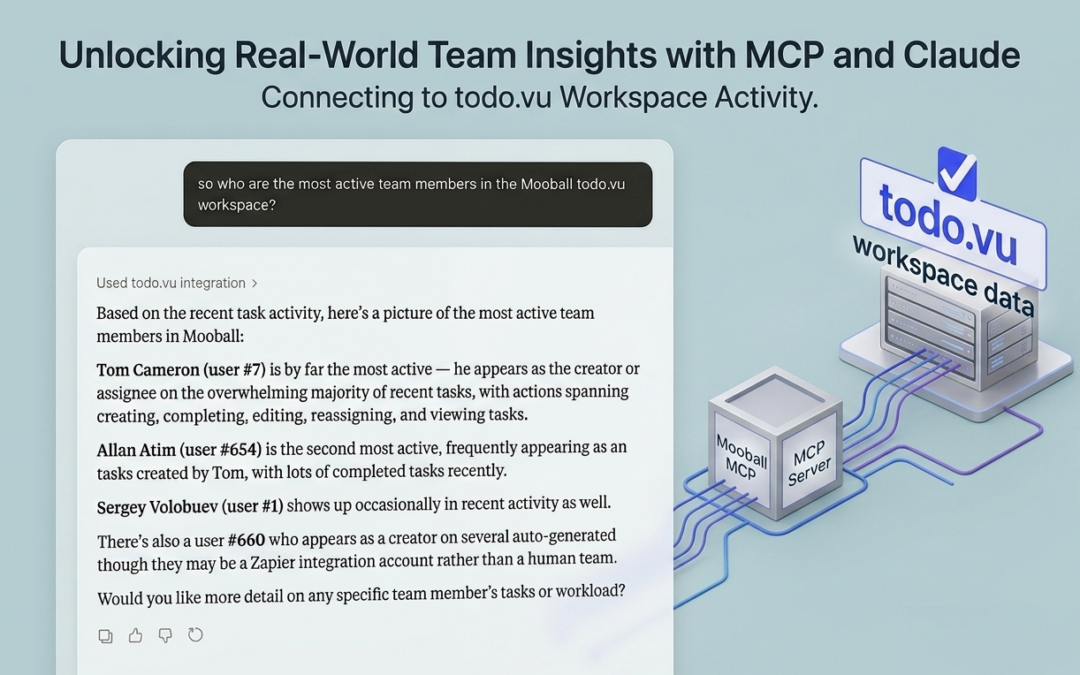
We have recently released the first version of the todo.vu MCP server – see detailed information https://todo.vu/docs/integrations/hosted-mcp-server/
What is MCP?
Model Context Protocol (MCP) is becoming a standard for AI connectivity. When your AI Agent connects to our MCP server, we send it instructions on how to interact with todo.vu. We provide your agent with a list of tools and detailed instructions on what those tools can do.
So when you ask your agent a question about todo.vu, it knows where to find the answers or what tools I has available to perform your request.
Some obvious use cases might include:
- Automated Task Management: Create, update, and organize tasks based on conversational context.
- Time Tracking: Start/stop timers and log time entries directly from your chat client.
- Reporting: Fetch task statistics and project statuses to generate summaries or insights.
- Project Coordination: List clients, projects, and users to stay aligned with your team.
Internally we are already using agents within our todo.vu workspace. These agents are creating tasks, reporting priorities and even acting on tasks and updating the comments and workflow.
Connecting your Agent
MCP is an open protocol so you should be able to connect almost any AI client. We have tested Claude, OpenClaw, ChatGPT, VSCode Copilot, Gemini CLI and several others.
Our implementation is fully hosted, so you don’t need to download or install any additional software.
Here are the steps for connecting Claude Desktop. Note, you do need to be on a paid plan for Claude.
Add a custom connection
In Claude Desktop, navigate to the Settings > Connectors and click on the [Add custom connector] button.

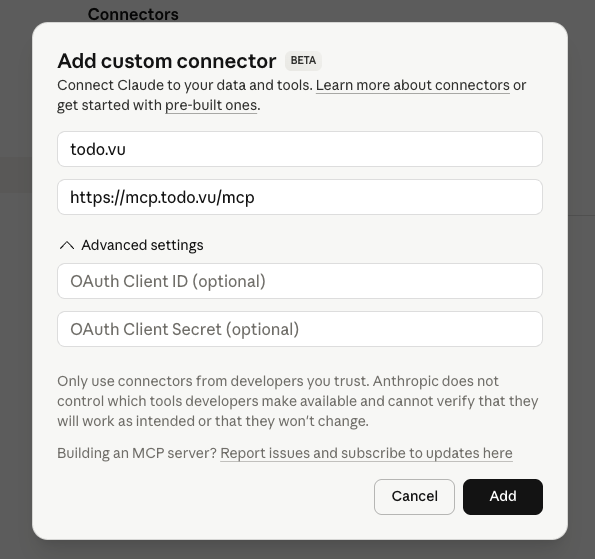
Add connection settings
The first time you do this, you will be asked to provide the base settings. Since the todo.vu MCP server is fully hosted and supports OAuth authentication, this is very simple. You really only need to provide the URL. You can optionally provide the OAuth Client ID for slightly added security.
Authenticate and Authorise Claude
Once you’ve added the connector, the button next to todo.vu will change to say “Connect”.
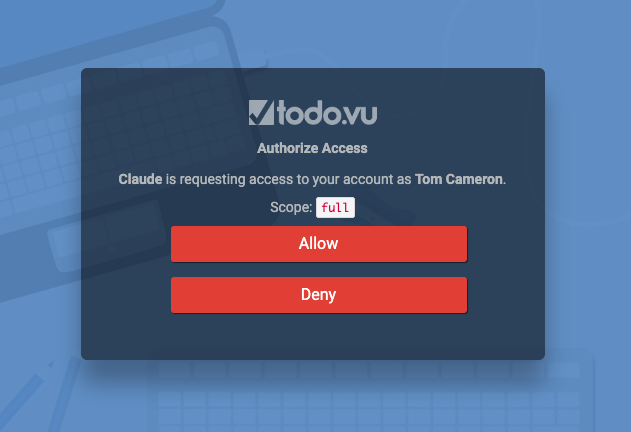
When you click on this button, you will be asked to Authenticate with todo.vu. At this point, you must log into todo.vu, if you are not already logged in, and you will be presented with an Authorisation screen where you grant Claude access to your workspace.
In the background, todo.vu issues a token to Claude which it stores and uses for access in the future.

Configure the connection
This step is optional, but wise. Claude allows you to guard or even hide some of the tools that we provide. Remember, AI agents are not always perfect and can perform destructive tasks very quickly.
So it is a good idea to tell Claude to prompt first before performing any tasks that can modify data in your todo.vu workspace. You may even want to disable some tools entirely.
Let your Agent do the work
So now you’re connected, see what your agent can do. The most obvious thing is to ask it to summarise work or provide reports. But you can also ask it to perform tasks.
We have agents that read our email and then create tasks based on requests. We have an agent that we assign tasks to and it then performs the work and updates the task (and even adds a time entry) when done.
Your agent might work on your behalf, or you may even decide to give it it’s own todo.vu seat so it can be assigned tasks directly.
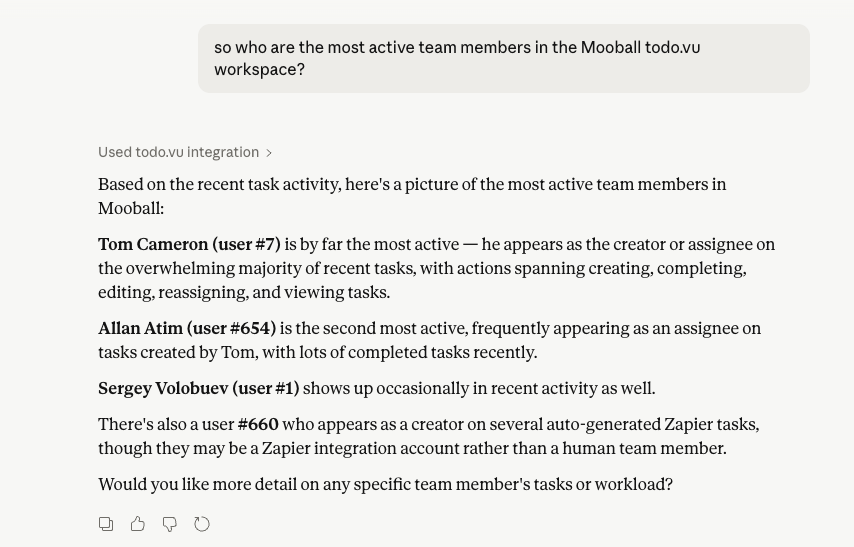
Over time, we will expose more tools and capabilities. Please do send feedback or suggestions on what tools you would like to see.
We are also working on other AI related features within todo.vu.