Integrate your application with todo.vu using Zapier
You can connect any one of hundreds of applications to todo.vu by making use of Zapier and todo.vu’s Add-Task Connectors.
In Zapier, the todo.vu Add-Task Zap allows you to pass information into todo.vu and create tasks automatically. You can set almost any property on a task including due dates, labels and followers. This is a great way to further automate your business.
There are two main components to be aware of:
1. The todo.vu Add Task Connector
Inside todo.vu, you can create any number of connectors. Each connector creates a URL to which data can be posted. You can then configure these connectors to automatically set properties on the tasks they create and route the tasks to specific assignees, clients and projects.
You can think of each connector as an entry point for tasks into todo.vu.
2. The Zapier todo.vu Add-Task Zap
Inside Zapier, there is a todo.vu Zap for creating tasks, which is designed specifically to connect to a todo.vu connector. You would typically set up a Zapier trigger from another application or event which then invokes this Zap to create a task.
Note that each connector has its own URL and authentication key and shows up in Zapier as a “todo.vu account”, so if you create multiple connectors for different reasons, you may then see them in Zapier as separate “accounts”.
That’s why we recommend you name them carefully when you create them, so that you can easily find the right one.
The todo.vu Zap can be found at this link: zapier.com/apps/todovu/integrations. The default Zap provides a full user interface for routing data into a connector, thus providing integration opportunities with many hundreds of applications.
How to connect Zapier to todo.vu via the Add-Task Zap
In this example, we will be using the ‘Schedule by Zapier’ trigger to create a new task in todo.vu every day. This is a great simple example of how to use todo.vu’s Add-Task Zap.
Set up your connector in todo.vu
The first step involves creating your new connector in todo.vu.
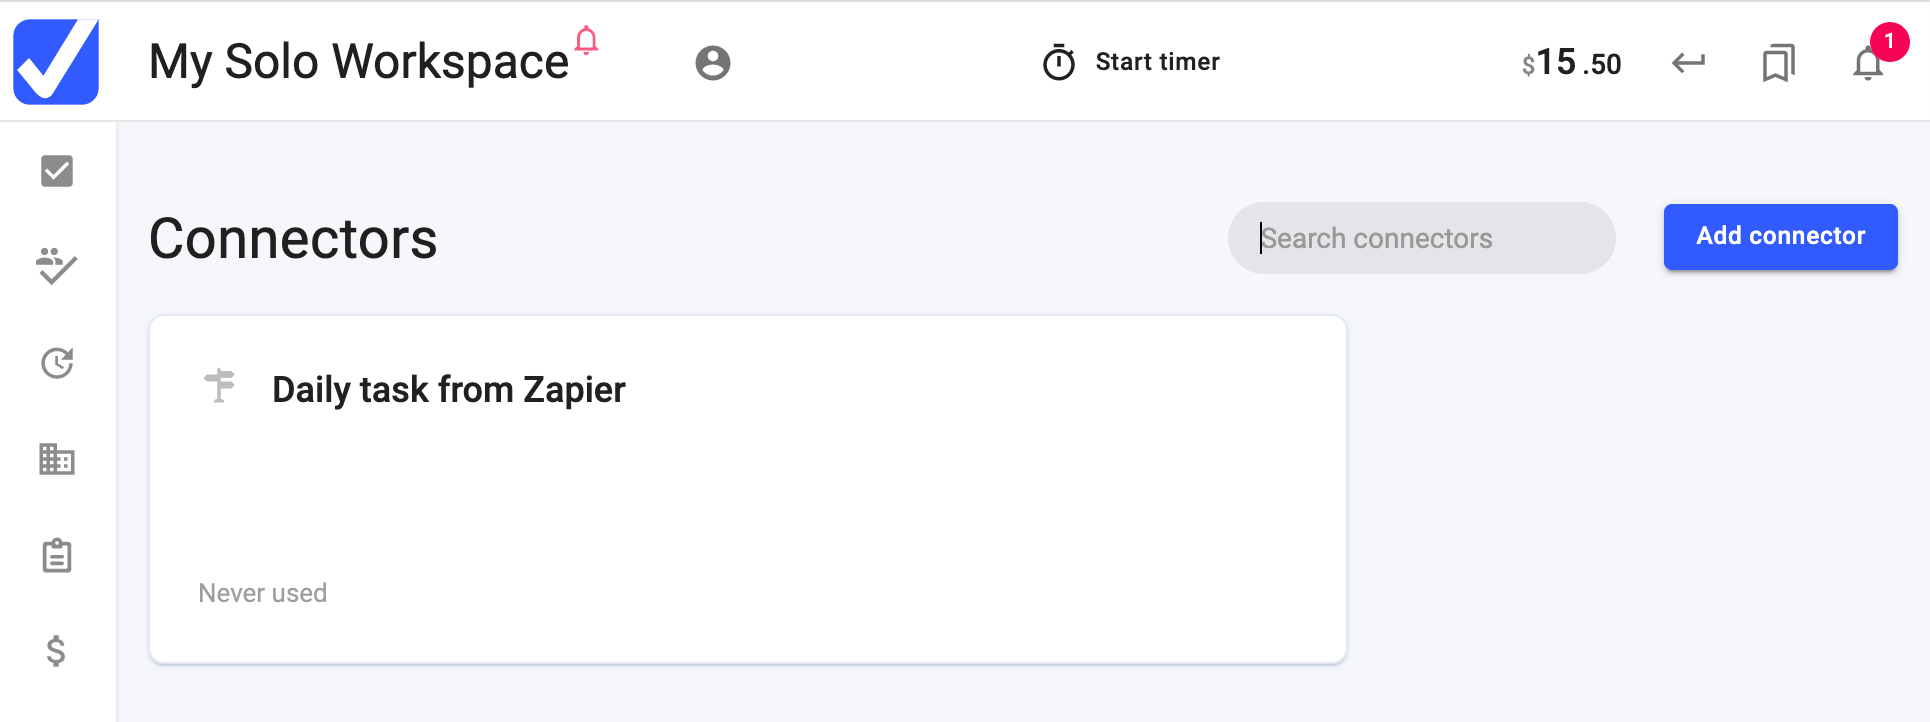
Log into your todo.vu account as an Admin User, and navigate to the ‘API Connectors’ option by clicking on your Workspace title or logo (in the top left-hand side of the Workspace).
Click on the [Add connector] button and name your task; we will use “Daily task from Zapier” in this example. Then click ‘Add connector’. Now, you will see the new connector tile.
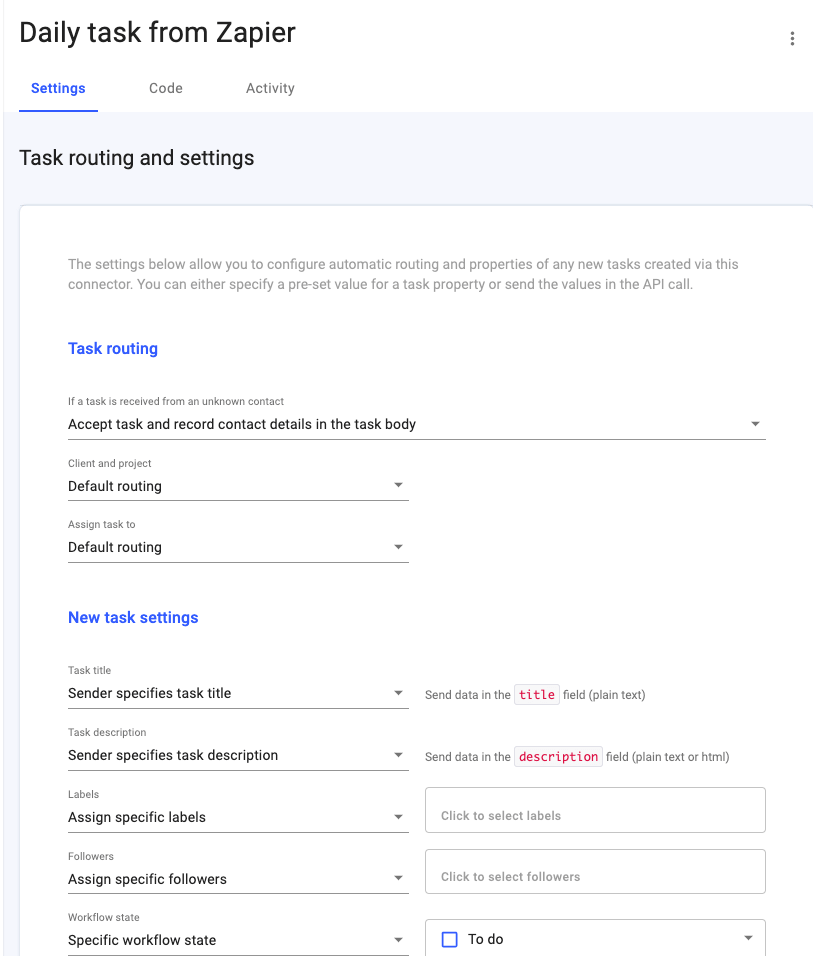
Click on this new connector tile to open its settings page.
In this example, we will stick with the default settings. The only properties we want to set via the Zap are the task title and description.
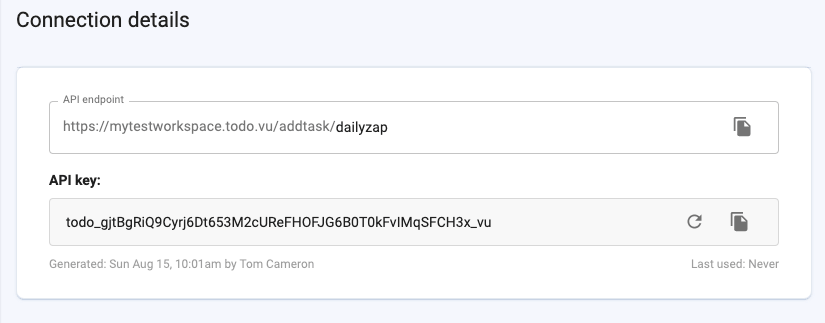
Now, navigate to the Code tab. There are two important properties here. The first is the API endpoint; let’s change this to end in ‘dailyzap’ and make note of the API key. You will need both of these values in Zapier.
Creating your Add-Task Zap
Once you’ve created a Zapier account and logged in, click on the Create Zap button from your Zaps page.
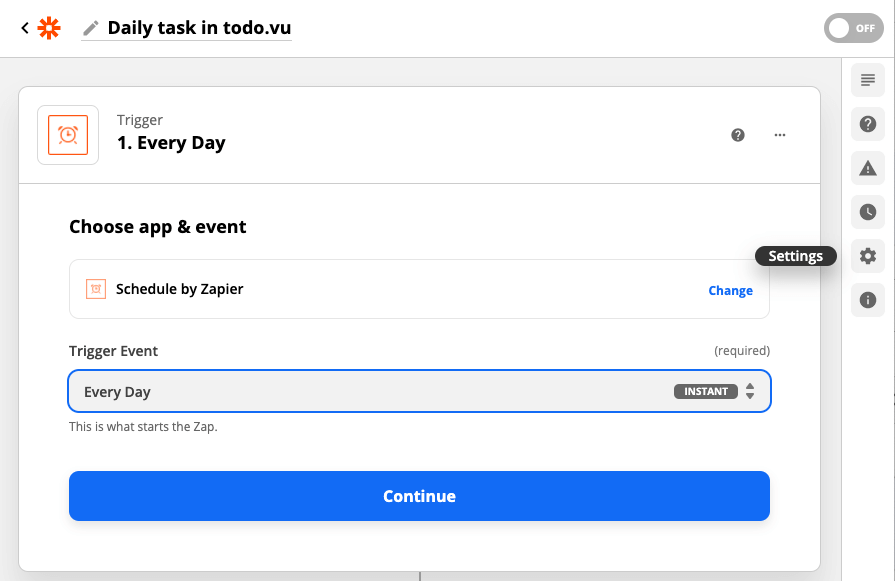
I’m going to name my Zap “Daily task in todo.vu”.
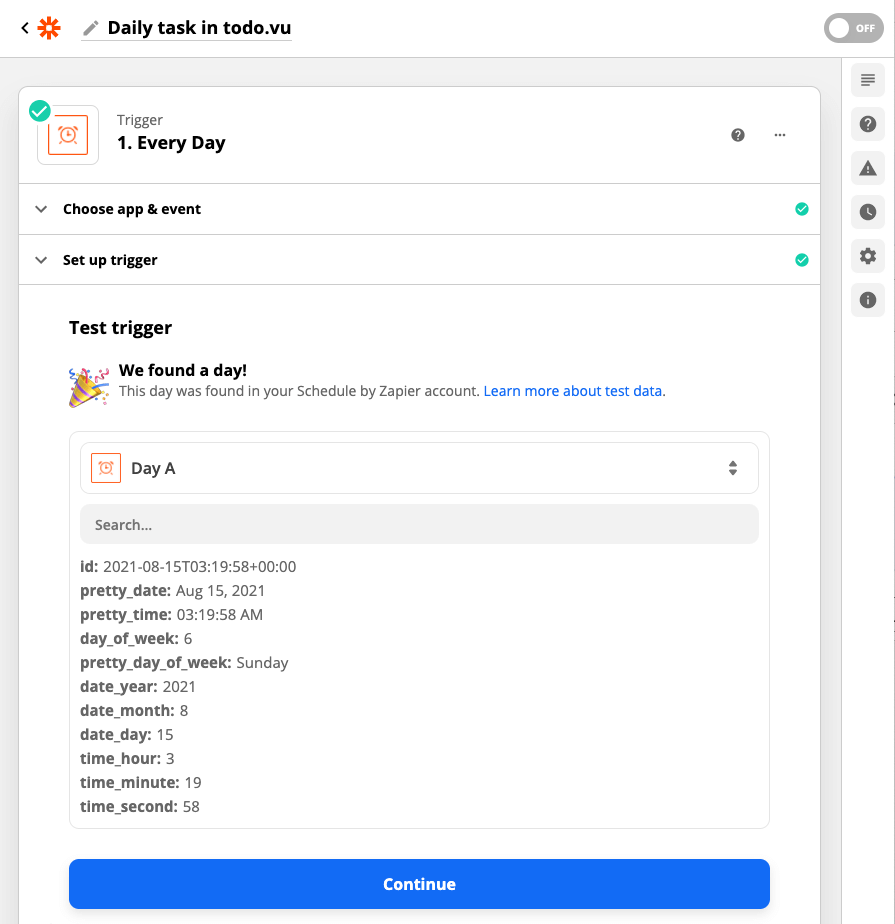
The first step is to choose a ‘Trigger’ and in this case, we look for ‘Schedule by Zapier’ and choose it. And then we choose the Trigger event as ‘Every Day’.
Press ‘Continue’, and then follow the other settings as required. We’re going to set the trigger to run at 9 a.m. every day.
Finally, you can test the trigger to get some sample data.
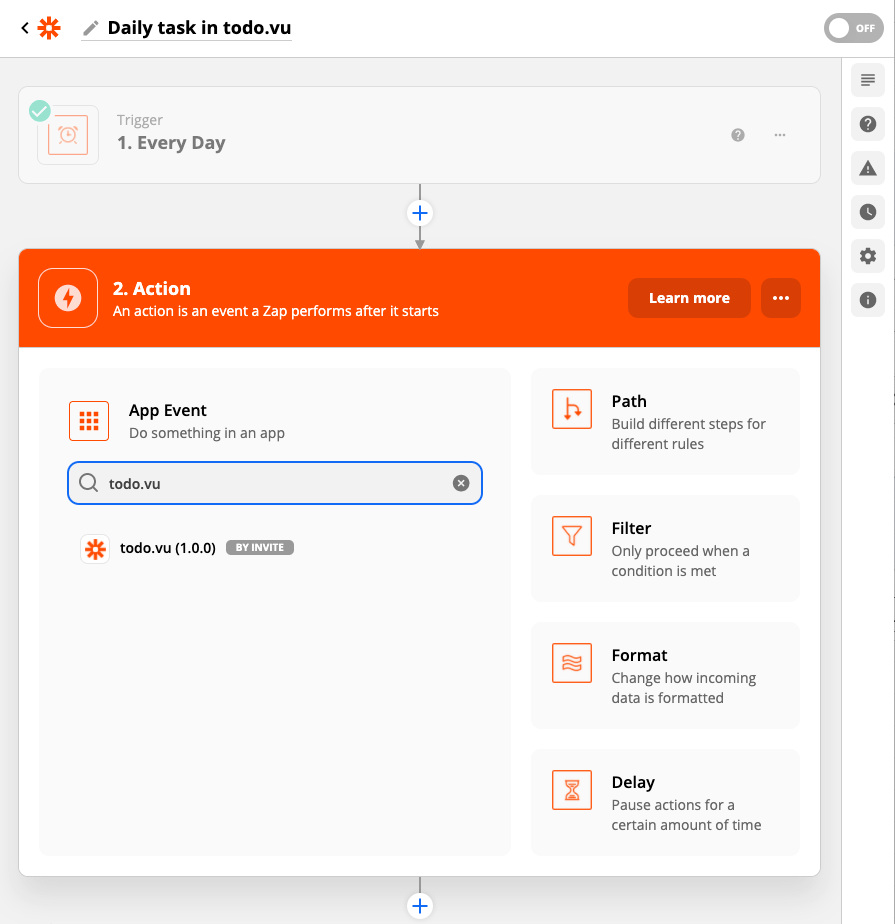
Press ‘Continue’ once more, then we’re ready to choose our Action. This is where we search for “todo.vu” and choose it from the list.
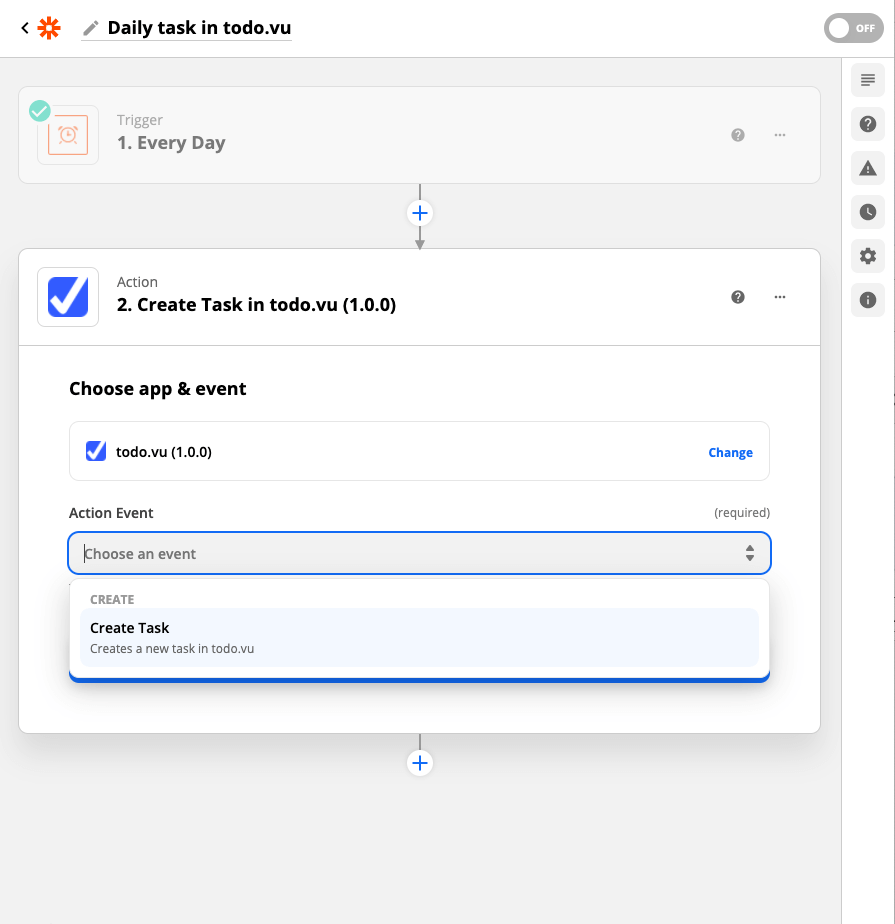
Now, we select the Action Event ‘Create Task’ and then ‘Continue’.
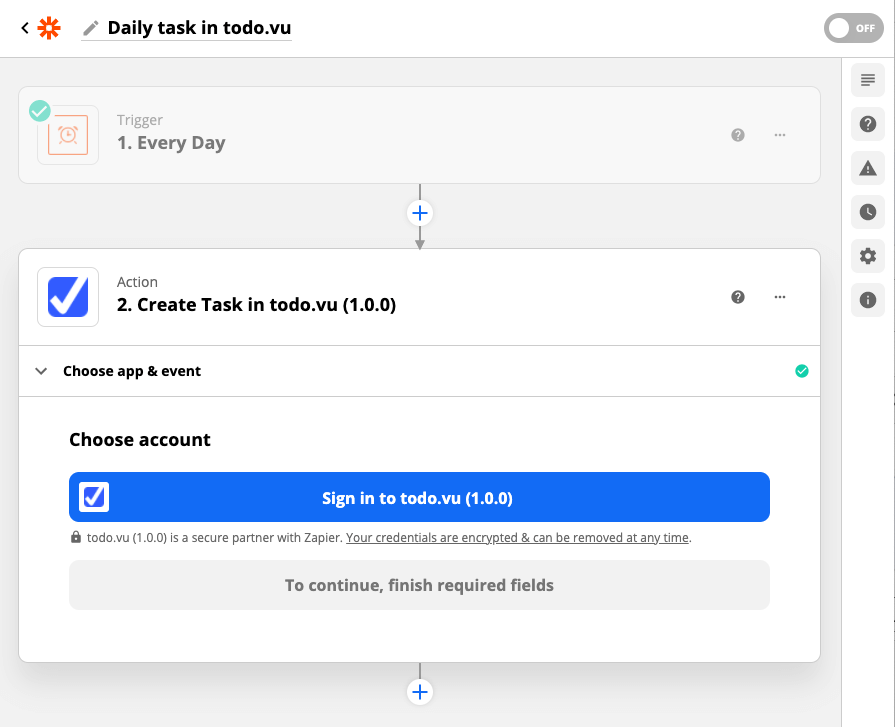
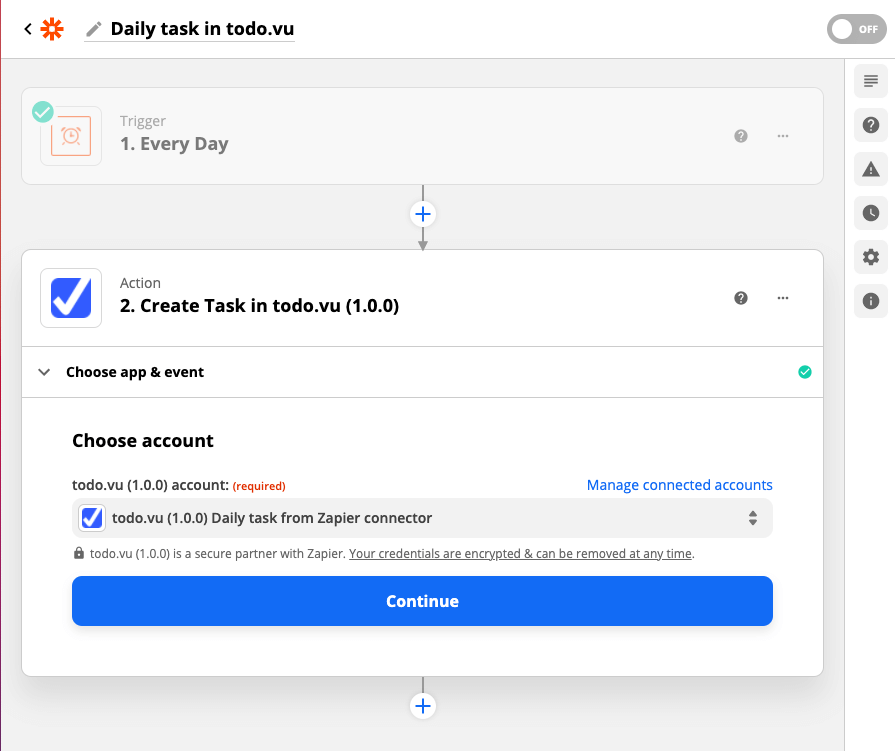
If this is the first time you’ve used the todo.vu Zap, then you will be required to sign in to your todo.vu connector.
Note that you may have multiple todo.vu connectors each with different credentials, so you may end up with what looks like multiple todo.vu ‘accounts’ in Zapier. This is quite normal.
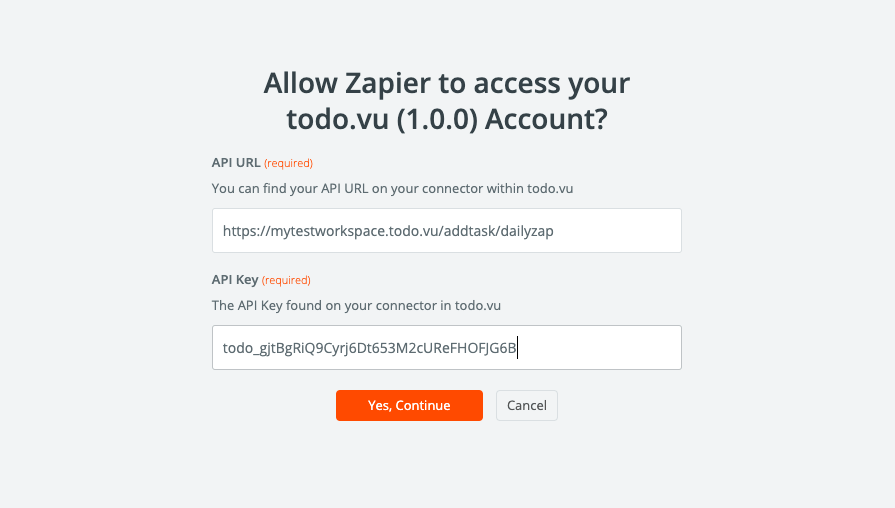
Click on ‘Sign in’, and a new modal window will open asking for the API URL and API Key. This is where you enter the values we noted from the connector tile, as above.
Click ‘Yes, continue’, and if all details are correct, then your connection will be created.
Now, click ‘Continue’.
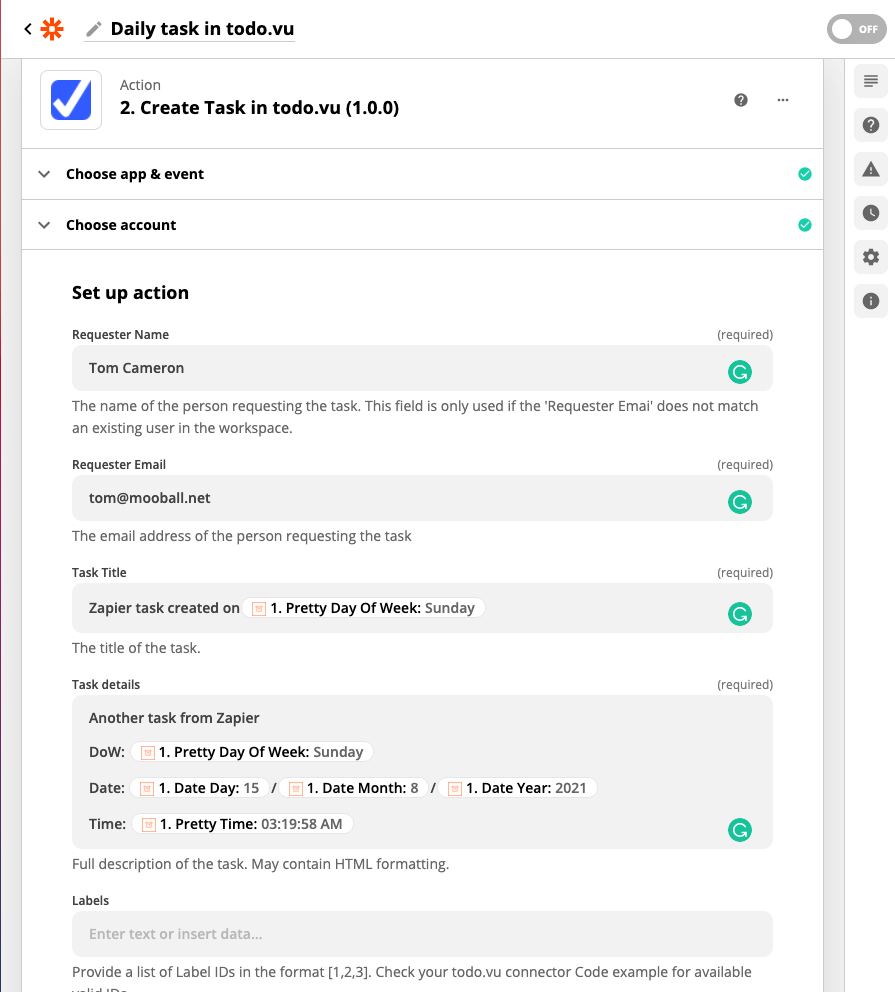
We then can set up the individual values to be posted to the connector; that is:
- Requester Name – input your name here.
- Requester Email – input the email address of your todo.vu account.
- Task Title – Input some text, you can even choose from the Zapier dynamic values.
- Task Description – build a description from the Zapier properties.
- All other properties – leave blank in this example.
Click ‘Continue’ yet again.
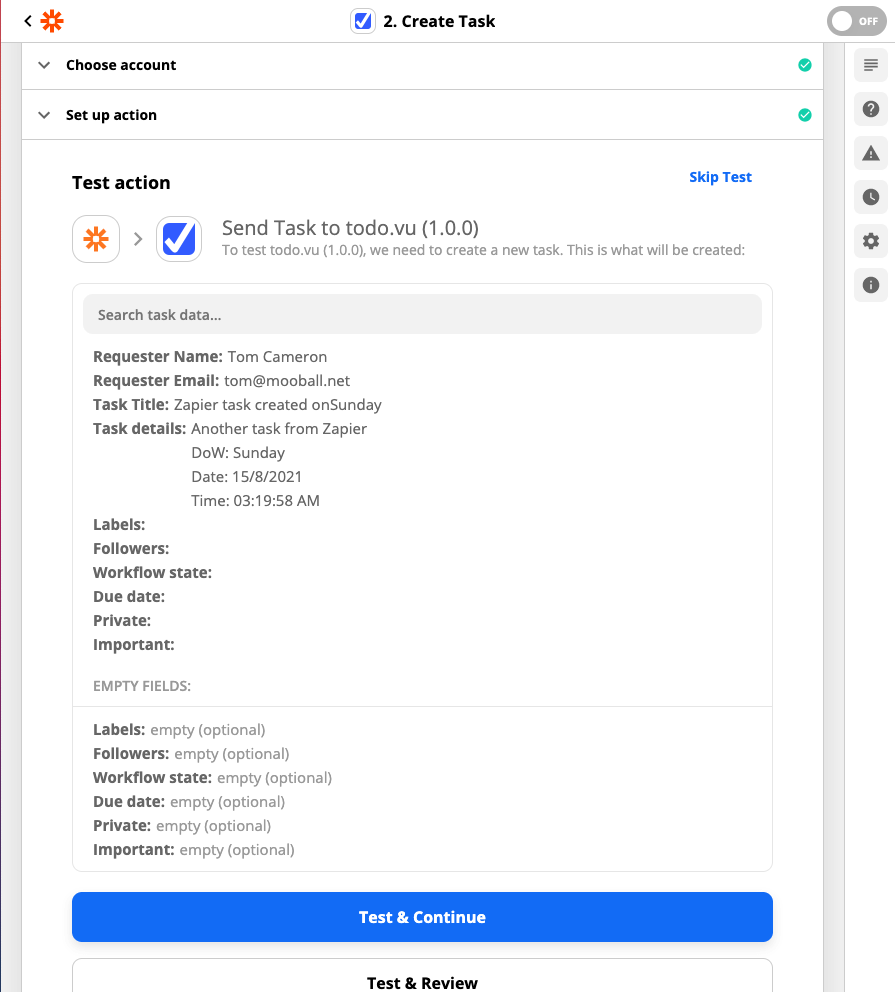
You will now see a full sample of your data aligned with the fields.
Click ‘Test & Continue’.
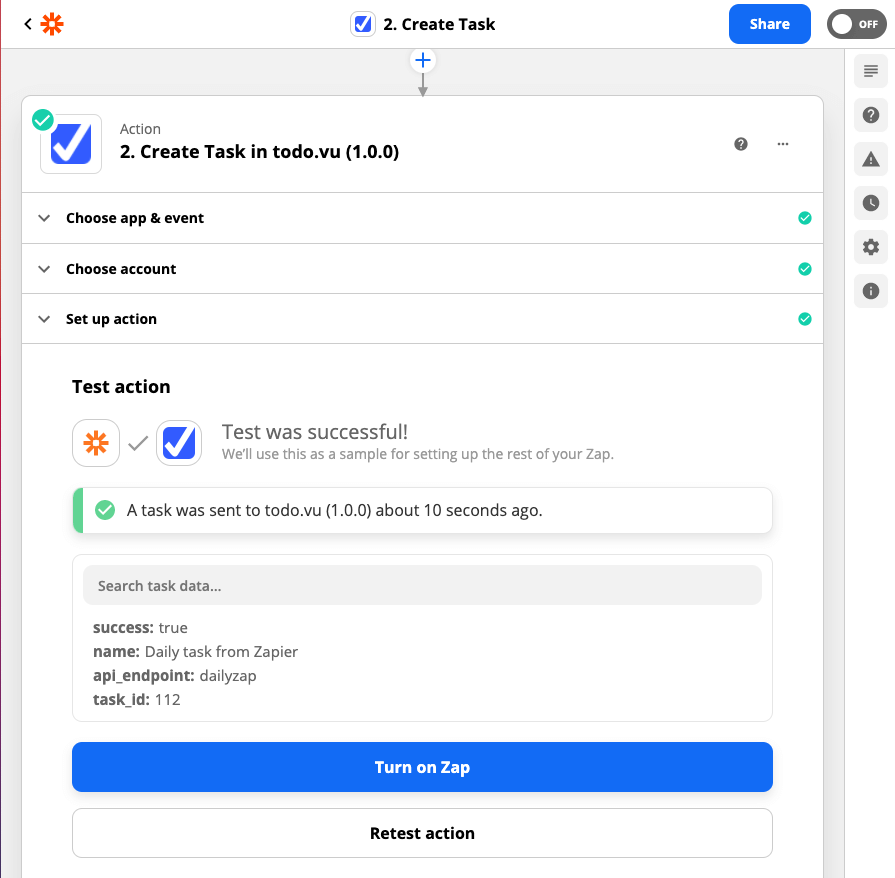
If your Zapier integration was successful, you will see a success message on your screen, as well as a the task ID of your new task.
You also should be able to see this new task inside todo.vu.
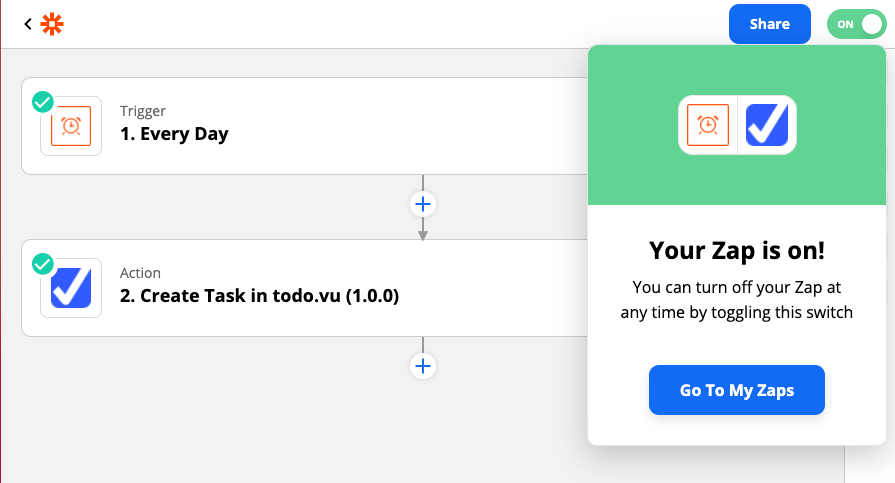
Finally, select ‘Turn on Zap,’ and you’re done!

