Kanban task management: Finding tasks
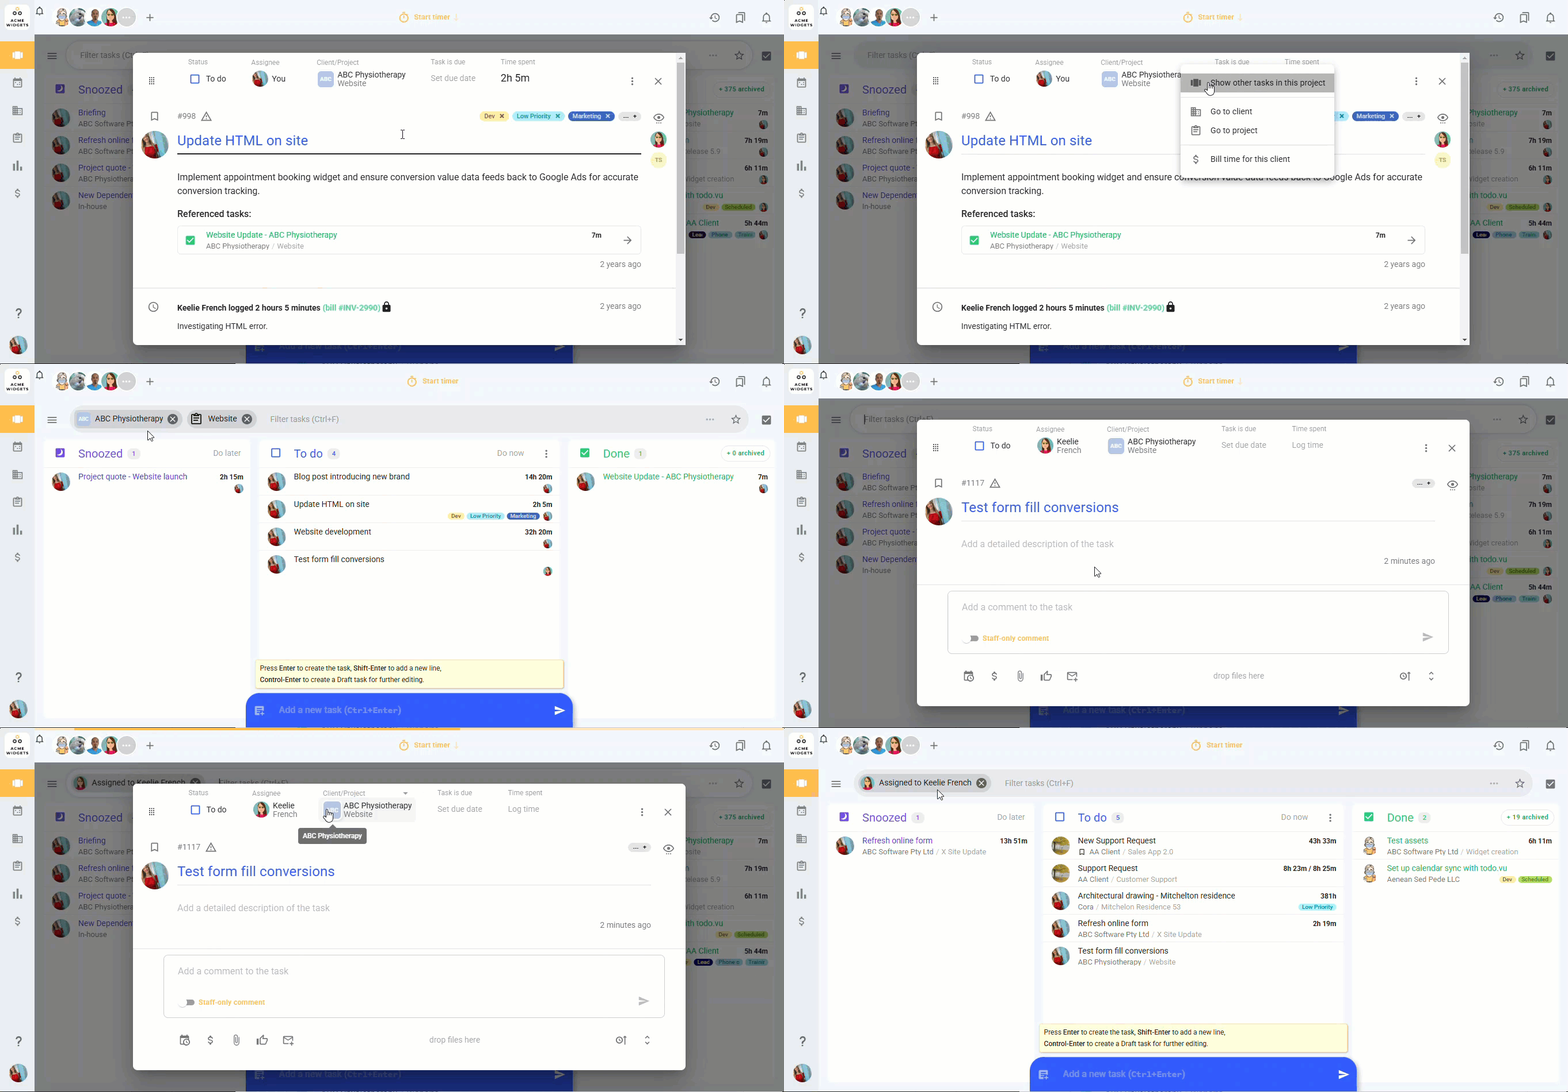
In todo.vu, your tasks are viewed and managed in ‘Kanban’ style on the Task dashboard, which means that tasks are mapped visually in columns according to their progress, and move between columns as they continue their lifecycle from inception to completion.
To simplify task management when your task list grows, todo.vu provides flexible context filter functions on the Task dashboard.
With the context filters, you can manipulate your Task dashboard, and the Kanban columns within it, to display tasks that meet specific details only.
This means you can filter for and display tasks connected to a specific client, project, team member and so on. Then, you can save these filtered views to return to with the click of a button.
This way, finding and tracking progress on tasks and workflows for any project and client is easy, and you can do it in one place.
Quick Glossary
Assignee – A task ‘Assignee’ is the user in charge of that particular task. There can only ever be one assignee on a task. When a user creates a task, they automatically become its assignee. However, users can assign tasks to others. Therefore, it is possible to have a different task ‘Assignee’ and ‘Creator’ of the same task.
Find tasks and manage workflows with context filters
You can use todo.vu’s context filter functions to refine the tasks displayed in your ‘Snoozed’, ‘To do’ and ‘Done’ Kanban columns according to a number of different task details, including:
You can filter for a combination of any of these details to hone in on your search; for example, you could search for all tasks belonging to a filtered project for a filtered client. However, you cannot search for two of the same details at once (tasks belonging to two clients, two team members, etc.).
Here are the three ways to access todo.vu’s context filter functions.
1. Input text into the search bar
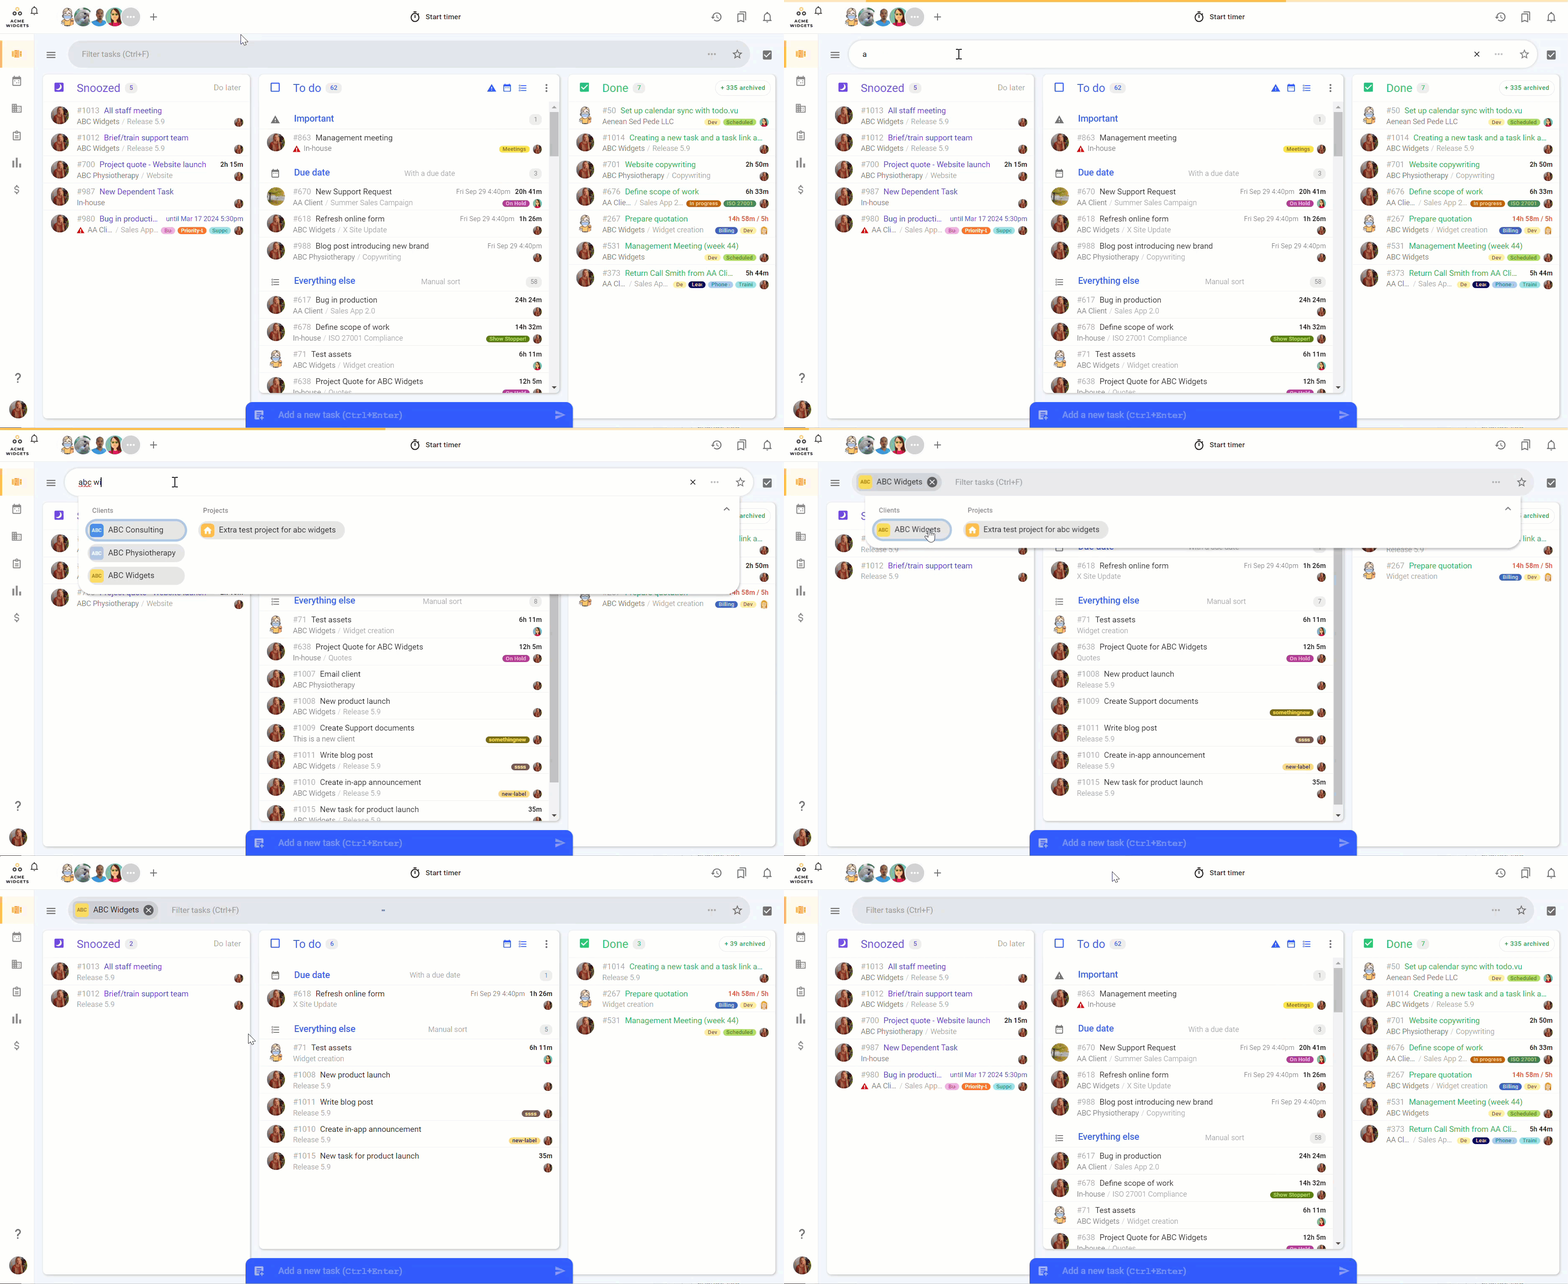
Place your cursor in the search bar at the top of your workspace’s Task dashboard view (or use the [Ctrl]+[F] keyboard shortcut on the Dashboard) and type in whatever context you wish to view all tasks for.
For example, type in a specific client, and todo.vu will organise your Task dashboard to display all tasks ‘Snoozed’, ‘To do’ and ‘Done’ for that client. Type in a specific project, and todo.vu will display all tasks of all kanban workflow statuses for that project, and so on.
When you search by keyword, todo.vu will search project, user and client names as well as task titles, descriptions and even comments to find the best results that match your search query.
TASK IDs: If you type a number into the search bar, and that number matches an existing task ID, then you can navigate directly to that task.
2. Use the embedded options in the search bar
You can also select the three-dot menu in the right-hand side of the search bar to filter by person, client, project, task label, or time logged.
When you select either of these options, a pop-up window will appear, where you can define the paramaters of your filter.
More on the ‘time logged’ filter
The time logged filter allows you to filter tasks according to the time logged (and billed) to them.
Selecting ‘by time logged’ within the embedded three-dot menu in the search bar, or via the ‘time logged’ status bar in the hamburger menu to the left (explained below), will open a new pop-up window where you can configure the filter.
The filter options are as follows:
- No time logged: To filter for tasks that have no time logged to them.
- Any time logged: To filter for tasks that have time logged to them.
- Unbilled: To filter for tasks that have some (not exclusively) unbilled time logged to them.
- Billed: To filter for tasks that have only (exclusively) billed time logged to them.
- Date range: To filter tasks that have time logged to them within the date range selected.
These time logged filter options can still be used with others filter options (though not with other ‘time logged’ filter options) to create unique context views.
TIP!
You can use any of these options 1, 2 or 3 in tandem whenever you filter for tasks in your workspace.
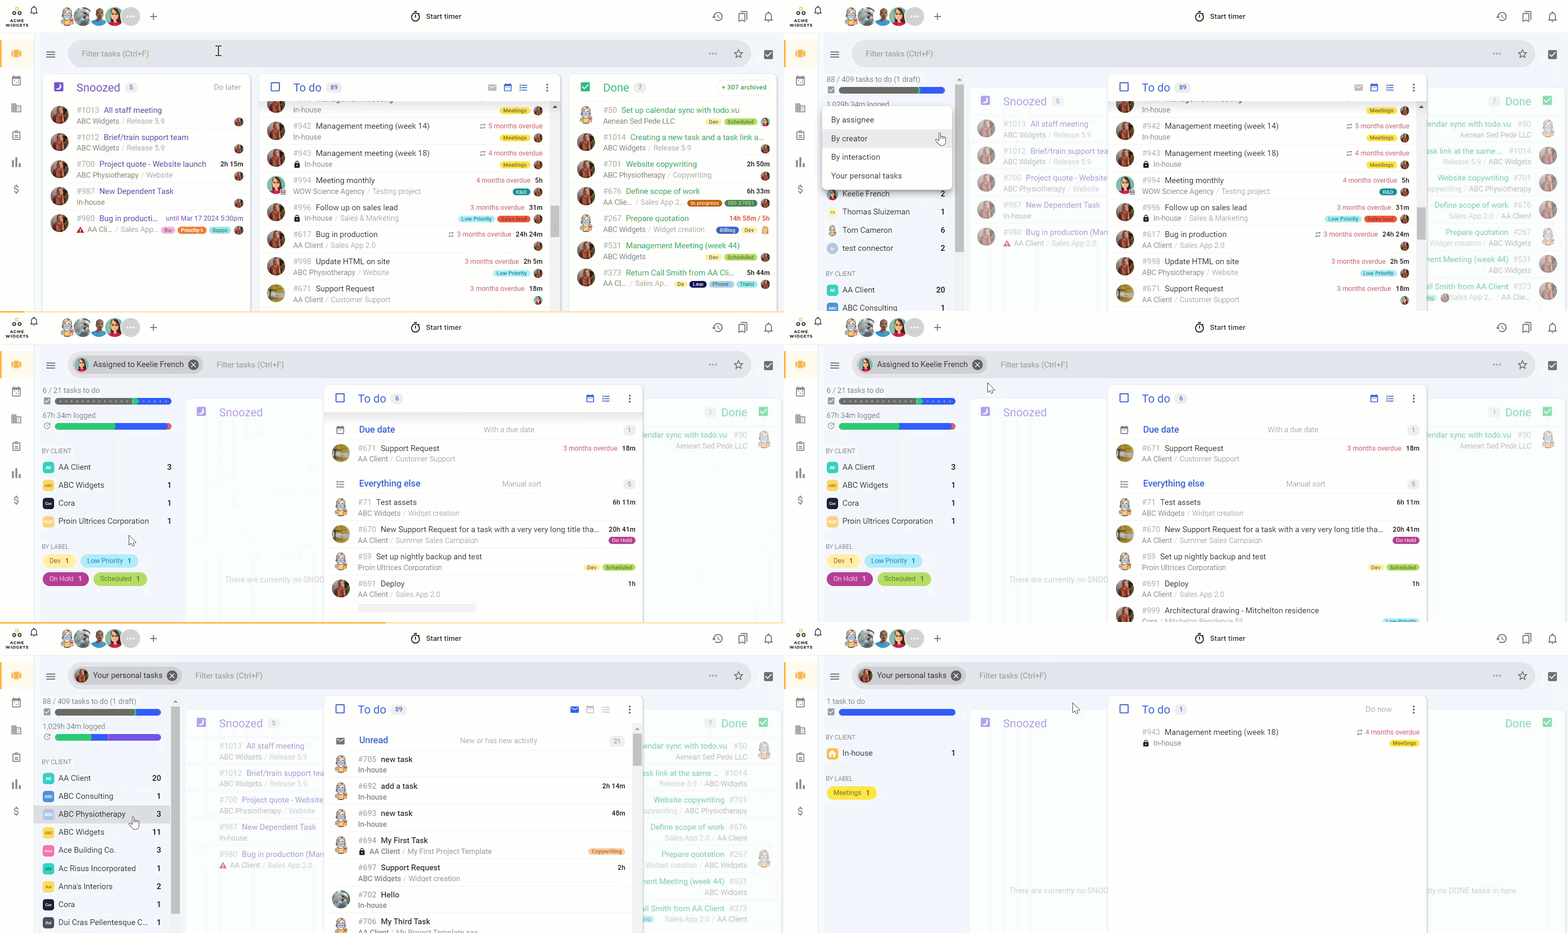
For example, you could type into your search bar to find all tasks related to a specific client, and then use the three-dot menu in the right of the search bar to filter those results for a specific label. Then, you might like to use the hamburger menu to the left to filter these results according to a specific user action.
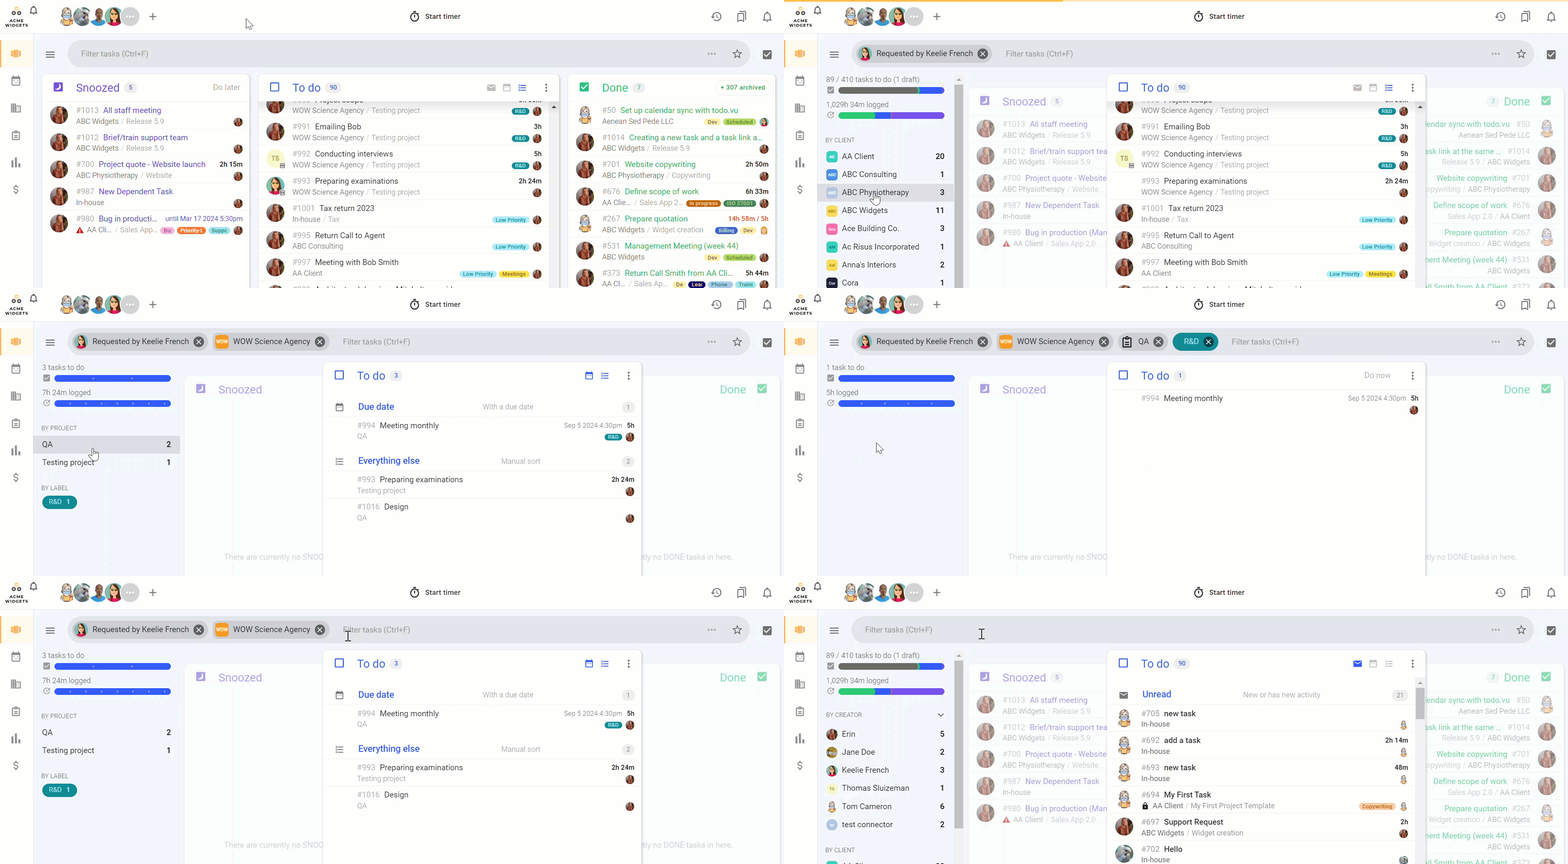
The important thing to note here is that your filters are persistent; once you apply a filter, it remains ‘fixed’ until you edit it. This means that when you apply another filter on top of an existing filter, that filter will apply to your already filtered results.
For instance, if you search for a client after using a user actions filter, you will see all tasks related to this specific client for this specific user action.
To reset your filters at any time, simply select the (x) next to the specific filter you want to remove from the search bar.
Save context filter views
You can save your context filter views to return to them in a few clicks, saving you from having to swap between different project “boards”, systems or tools.
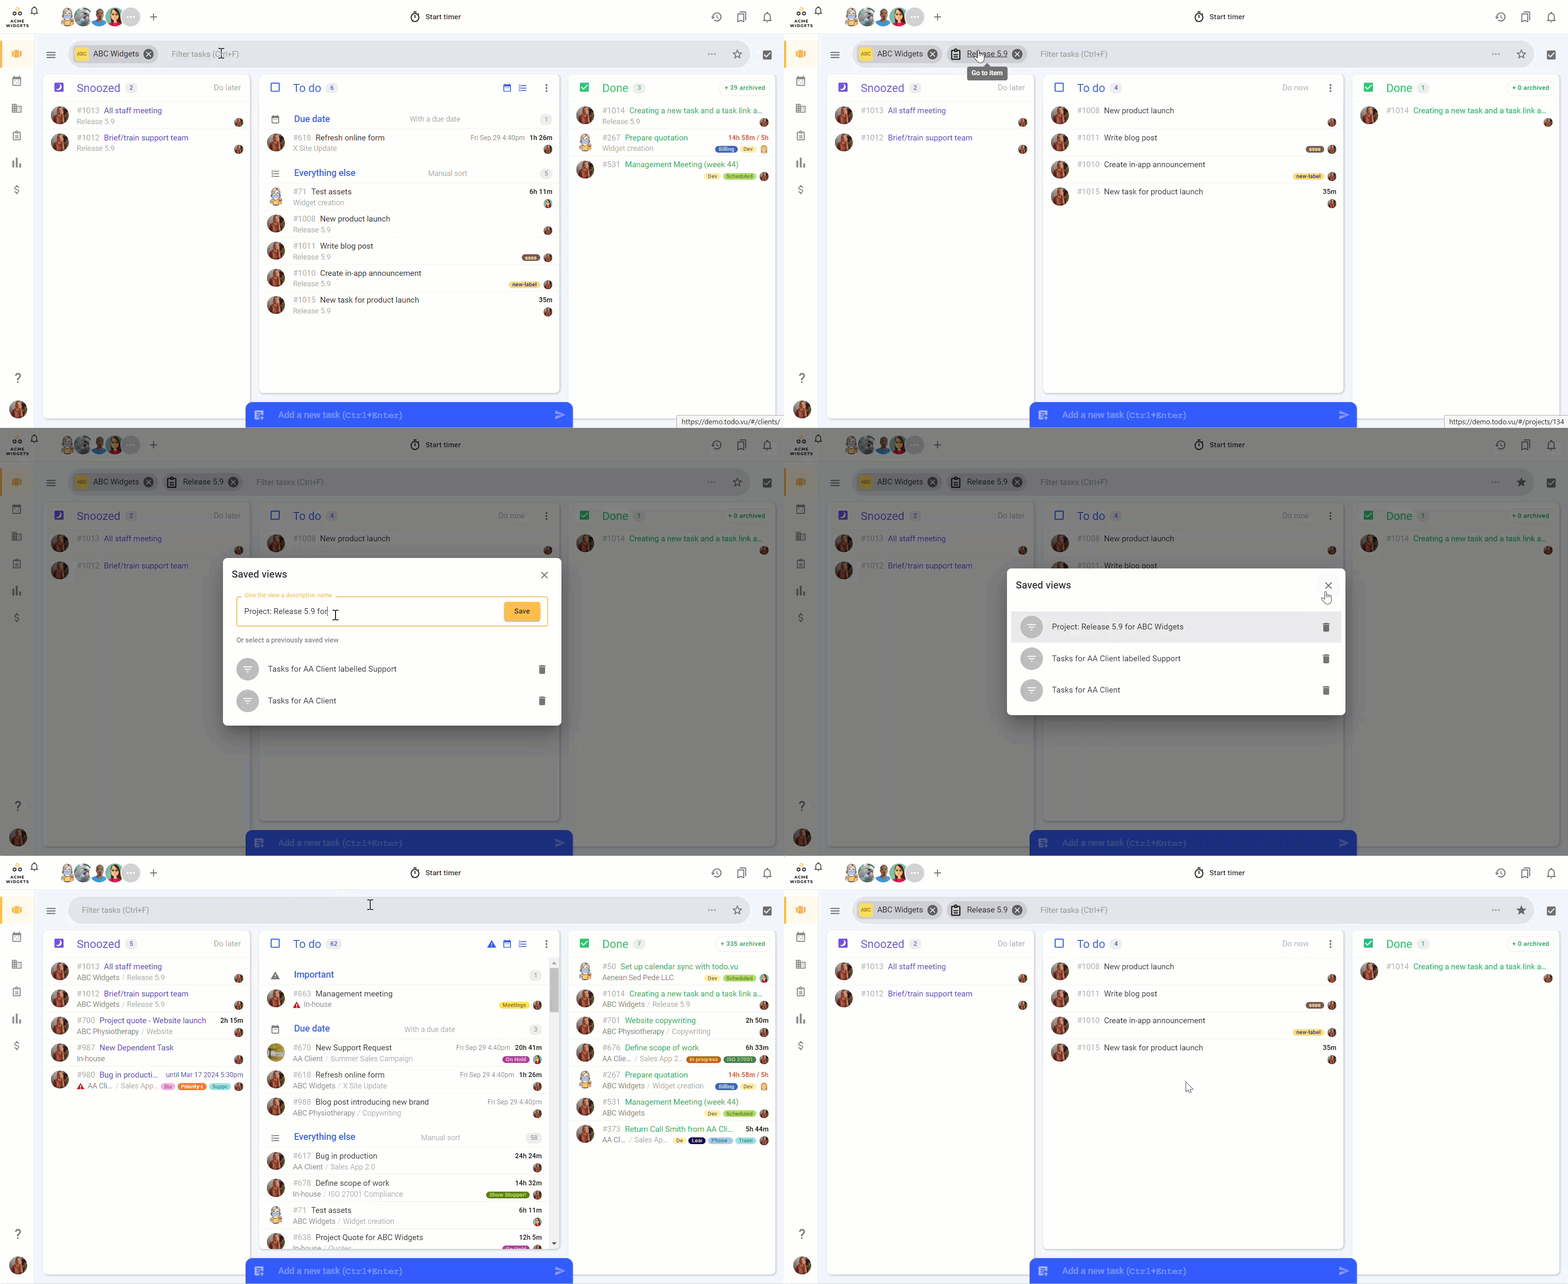
Simply click the star icon at the right-hand side of your the search bar after you have filtered for that view, and give that view a name.
Click the star icon to search for and navigate to your favourited views at any time.
Search and filter by attachments
By default, todo.vu’s context filter functions are set to search and filter for tasks within your dashboard. However, you can also use the same functions to search only for task files or attachments in your dashboard, too.
Just click on the checkbox icon to the right of your search bar to change your configuration to search for task files and attachments. To revert back to filtering for tasks, click on the icon again (which will have then updated to a paperclip icon to reflect the file search).
Recent tasks
You can quickly find tasks in todo.vu which you have recently interacted with.
Simply select the timer icon at the top right corner of your workspace. This will trigger a sidebar to open to the right, within which you can easily see and open tasks you have recently tracked and logged time to, edited, commented on and so on.
This recent tasks list is personal to your own workspace.
Bookmarked tasks
You can bookmark tasks in todo.vu so that they can be easily found at a later date.
Select the ribbon icon above the user avatar on an open task. The ribbon icon will turn grey once it has been selected and bookmarked.
Your bookmarked tasks are listed within one place on the Task dashboard. Click the ribbon icon on the top right-hand corner of your workspace, next to the timer (Recent tasks) icon. A sidebar will open to the right of your workspace, where you will see a list of, and can navigate to, your bookmarked tasks.
The Bookmarked tasks list is personal to your own workspace, and you can remove a task’s ‘Bookmarked’ status simply by deselecting the ribbon icon on an open task.
READ NEXT:
Learn about using task labels in todo.vu to more efficiently manage tasks and workflows. Read here >>

